2 large cans pineapple tidbits
(1 can drained, 1 can not drained)
2 cups grated cheese
6 tablespoons flour
1 cup sugar
Mix together, put into a greased 13 x 9 pan.
Mix 30 crumbled Ritz crackers with 1 stick melted butter or margarine.
Put that on top of the pineapple mixture and bake at 350 for 30-35 minutes.
best served warm.
don't overcook it or the pineapple will get too mushy.
Showing posts with label Recipes. Show all posts
Showing posts with label Recipes. Show all posts
Sunday, June 19, 2011
The Chicken Salad Post for the "How To" Blog
The Do's:
1) Do use chicken breasts that have the bone and the skin;
2) Do use real mayonaise;
The Don'ts:
1) Don't use boneless, skinless chicken breasts;
2) Don't use dark meat;
3) Don't use that nasty Miracle Whip
The easy way is to put the chicken breasts in the crock pot that you got at a yard sale,
 cover them up with plenty of water because there's going to be a good use for that broth later. Plus, whatever chicken meat isn't left inside the water gets a little dry and hard.
 I turn mine upside down so that I'm sure the meat is under the water. (I know, this picture of the chicken looks nasty, doesn't it)
When it's done, put the chicken in a colander
 that you've set over in a pie plate or a bowl or something:

 and yes, I despise the blue countertops and have for the last 21 years since we moved here.
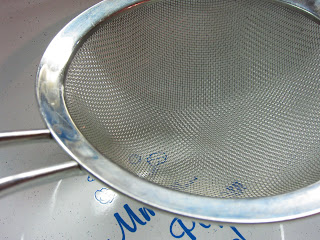
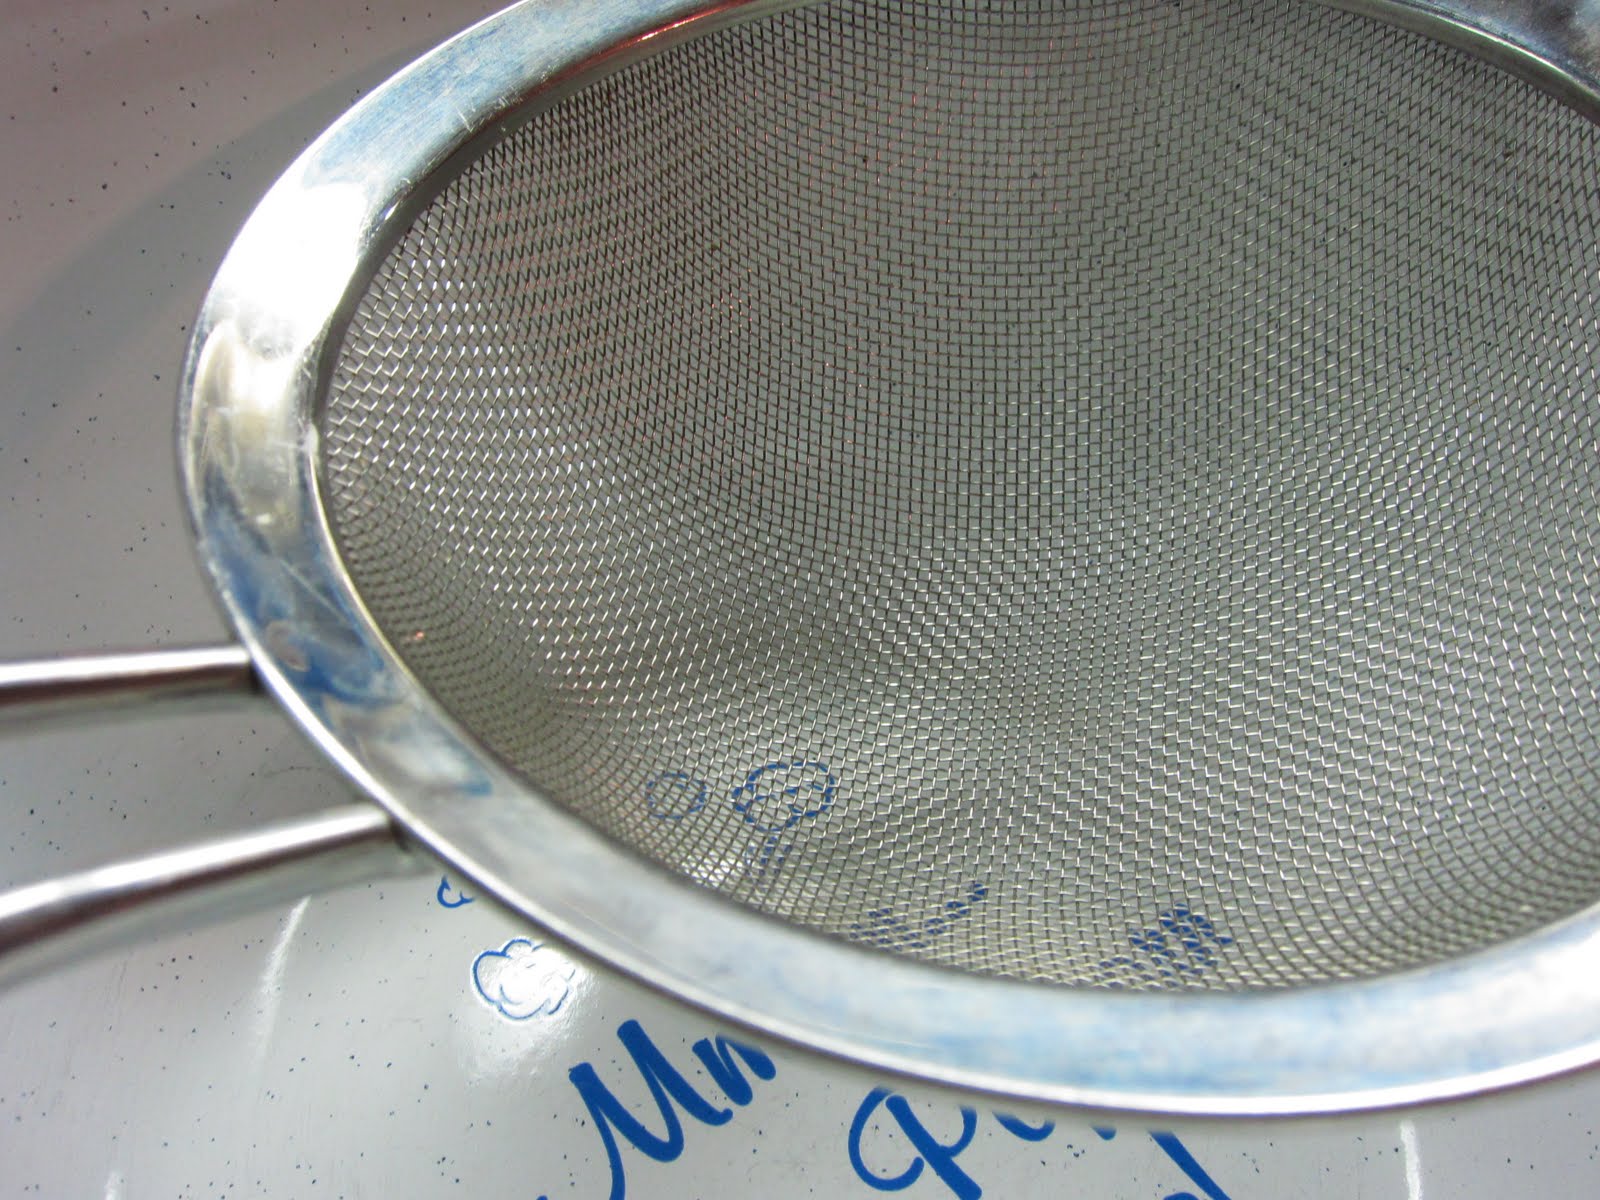
Strain the broth in a mesh strainer so that it filters out all the little pieces of bone and stuff you don't want in there:
 Get the skin, fat and bone out of/ off of the chicken. Some of the pieces of bone like to hide, so make sure you've gotten them all out before you start cutting.
Use kitchen scissors and cut across the grain of the chicken.
Add salt, mayonnaise, and little pieces of celery (I cut the celery in half lengthwise, and then cut each one of those halves in half, then cut across all four pieces).
At today's shower, however, I put celery in one-half of the chicken salad and in the other half, I put green grapes that I had quartered, and chopped pecans.
And the broth that you have strained????
Put it in the freezer until you're ready to make soup.
What soup?
Put in:
Chicken broth,
Canned tomatoes,
Cabbage that has been run through the food processor (why run it through the food processor, you ask? To disguise it. Because for certain, you will be feeding someone who says they don't like cabbage),
Frozen corn,
Salt and pepper,
Chopped up chicken
Cook it until the cabbage is "clear" enough that people-who-don't-like-cabbage can't tell it's in there.
While that's cooking, make you a little cornbread and set your buttermilk on the table to go with it.
Mmm, mmm.
"Hey Grandpa, What's for Supper?"
1) Do use chicken breasts that have the bone and the skin;
2) Do use real mayonaise;
The Don'ts:
1) Don't use boneless, skinless chicken breasts;
2) Don't use dark meat;
3) Don't use that nasty Miracle Whip
The easy way is to put the chicken breasts in the crock pot that you got at a yard sale,


When it's done, put the chicken in a colander


Strain the broth in a mesh strainer so that it filters out all the little pieces of bone and stuff you don't want in there:

Use kitchen scissors and cut across the grain of the chicken.
Add salt, mayonnaise, and little pieces of celery (I cut the celery in half lengthwise, and then cut each one of those halves in half, then cut across all four pieces).
At today's shower, however, I put celery in one-half of the chicken salad and in the other half, I put green grapes that I had quartered, and chopped pecans.
And the broth that you have strained????
Put it in the freezer until you're ready to make soup.
What soup?
Put in:
Chicken broth,
Canned tomatoes,
Cabbage that has been run through the food processor (why run it through the food processor, you ask? To disguise it. Because for certain, you will be feeding someone who says they don't like cabbage),
Frozen corn,
Salt and pepper,
Chopped up chicken
Cook it until the cabbage is "clear" enough that people-who-don't-like-cabbage can't tell it's in there.
While that's cooking, make you a little cornbread and set your buttermilk on the table to go with it.
Mmm, mmm.
"Hey Grandpa, What's for Supper?"
Monday, September 6, 2010
You Too Can Make Muscadine Pie
I did promise to post this recipe today - so what if today is almost over.
This is like my mama used to make. That's what makes it so good.
I'll go on and tell you - you might like it and you might not. I will say this, Spoiled Rotten Grandyoungun #1 and Spoiled Rotten Grandyoungun #2 like it. They made their own personal little pies yesterday.
First for the Pie Crust. Don't tell me you buy 'em ready made. That's unacceptable. Making pie crust is VERY easy and SO MUCH better than storebought. I got this recipe out of the Southern Living magazine years ago. Make enough dough for 2 crusts.
Pie Crust (for 1 crust)
1 1/4 cups flour
1/2 tsp. salt
1/2 cup shortening
3 to 4 tablespoons ice water
(Hint: this is the best measuring cup ever, ever, ever, for measuring shortening. It's a Pampered Chef and it comes in 1 cup and 2 cup sizes)

Mix your flour and salt together.
Cut in your shortening with a pastry blender.
 If you don't have a pastry blender, you can use a knife and a fork. Cut the shortening into the flour mixture until it's in little bitty pieces.

Sprinkle your ice water in. Mix it up, roll it in a ball and put it in the refrigerator for at least 2 hours. (Sometimes I'm impatient and I go ahead and roll it out, but it's really too sticky. It's better to let it refrigerate).
Take it out and let it sit out for 5 minutes before rolling it out.
 When you get ready to put it in your pie plate, put your rolling pin at the edge of it and kind of loosely roll the pie crust onto the rolling pin. Put it on your pie plate and gently unroll it.
Once I have it in the pie plate, I'll usually take a pair of scissors and cut the excess from around the edge. To make the little fluted edge, put your left thumb and index finger on the outside and your right index finger on the inside with the top edge of the pie crust in between. Then push them together.
 Your second pie crust will just need to be rolled out and cut into strips to place across the top of your pie.
Now for the goodie.
Except I need to tell you this first.
When my first cousin was in school to get her doctorate in something smart, I can't remember what, she put together a family cookbook for some project she had to do. I love that cookbook.
The recipe for the goodie came from that cookbook.
So now.
Scuppernong/Muscadine Pie
4 cups pulp
4 tablespoons cornstarch
1 1/2 cups sugar
1/4 teaspoon sugar
1/8 teaspoon cinnamon
1 tablespoon butter
4 pie crust shells (as this makes 2 pies)
After thoroughly washing grapes, pop them with your fingers, putting pulp in one bowl and skins in another. Place skins in a saucepan and cover with water. Boil until tender (doesn't take long). Boil pulp about 5 minutes then pour into a colander. Mash with a spoon; seeds come right out. When skins are tender, add pulp, cornstarch, sugar, butter and cinnamon. Cook until thick, then pour into two unbaked pie shells, cover with top crust.
Bake at 400 degrees until crust is a nice brown.
My little side note: I usually pour some (not all) of the water off of the skins after they've cooked and before I add the other stuff to it. Otherwise, the goodie is a little too runny. Also, it actually seems to work better to make up your pie crust AND your goodie one day, refrigerate it, and cook it the next day. It makes it all easier to work with that way.


 And yes, I was too lazy to do the lattice with the strips. It tastes just as good to put all of the bottom strips down and then come back and put all of the top strips across.
It must be eaten warm with vanilla ice cream on top.
It's a law.
Oh, and by the way, this takes alot of your time. But I figure once a year, it's worth it.
This is like my mama used to make. That's what makes it so good.
I'll go on and tell you - you might like it and you might not. I will say this, Spoiled Rotten Grandyoungun #1 and Spoiled Rotten Grandyoungun #2 like it. They made their own personal little pies yesterday.
First for the Pie Crust. Don't tell me you buy 'em ready made. That's unacceptable. Making pie crust is VERY easy and SO MUCH better than storebought. I got this recipe out of the Southern Living magazine years ago. Make enough dough for 2 crusts.
Pie Crust (for 1 crust)
1 1/4 cups flour
1/2 tsp. salt
1/2 cup shortening
3 to 4 tablespoons ice water
(Hint: this is the best measuring cup ever, ever, ever, for measuring shortening. It's a Pampered Chef and it comes in 1 cup and 2 cup sizes)

Mix your flour and salt together.
Cut in your shortening with a pastry blender.


Sprinkle your ice water in. Mix it up, roll it in a ball and put it in the refrigerator for at least 2 hours. (Sometimes I'm impatient and I go ahead and roll it out, but it's really too sticky. It's better to let it refrigerate).
Take it out and let it sit out for 5 minutes before rolling it out.

Once I have it in the pie plate, I'll usually take a pair of scissors and cut the excess from around the edge. To make the little fluted edge, put your left thumb and index finger on the outside and your right index finger on the inside with the top edge of the pie crust in between. Then push them together.

Now for the goodie.
Except I need to tell you this first.
When my first cousin was in school to get her doctorate in something smart, I can't remember what, she put together a family cookbook for some project she had to do. I love that cookbook.
The recipe for the goodie came from that cookbook.
So now.
Scuppernong/Muscadine Pie
4 cups pulp
4 tablespoons cornstarch
1 1/2 cups sugar
1/4 teaspoon sugar
1/8 teaspoon cinnamon
1 tablespoon butter
4 pie crust shells (as this makes 2 pies)
After thoroughly washing grapes, pop them with your fingers, putting pulp in one bowl and skins in another. Place skins in a saucepan and cover with water. Boil until tender (doesn't take long). Boil pulp about 5 minutes then pour into a colander. Mash with a spoon; seeds come right out. When skins are tender, add pulp, cornstarch, sugar, butter and cinnamon. Cook until thick, then pour into two unbaked pie shells, cover with top crust.
Bake at 400 degrees until crust is a nice brown.
My little side note: I usually pour some (not all) of the water off of the skins after they've cooked and before I add the other stuff to it. Otherwise, the goodie is a little too runny. Also, it actually seems to work better to make up your pie crust AND your goodie one day, refrigerate it, and cook it the next day. It makes it all easier to work with that way.


It must be eaten warm with vanilla ice cream on top.
It's a law.
Oh, and by the way, this takes alot of your time. But I figure once a year, it's worth it.
Subscribe to:
Posts (Atom)